Tiles are a popular choice for flooring and walls in homes, but over time, wear and tear can lead to cracks, chips, and other damage. When this happens, it’s essential to know how to perform tile repair or replacement to keep your home looking beautiful. In this guide, we’ll discuss why people need tile repair, the different types of tile repair, and provide a DIY guide for fixing and replacing tiles.
Why Do People Need Tile Repair?
Tiles add beauty and durability to our homes, but they are not invulnerable to damage. There are several reasons why people may need tile repair:
- Wear and Tear: Over time, tiles can develop cracks, chips, or become loose due to daily use and foot traffic. This wear and tear is inevitable and necessitates repair.
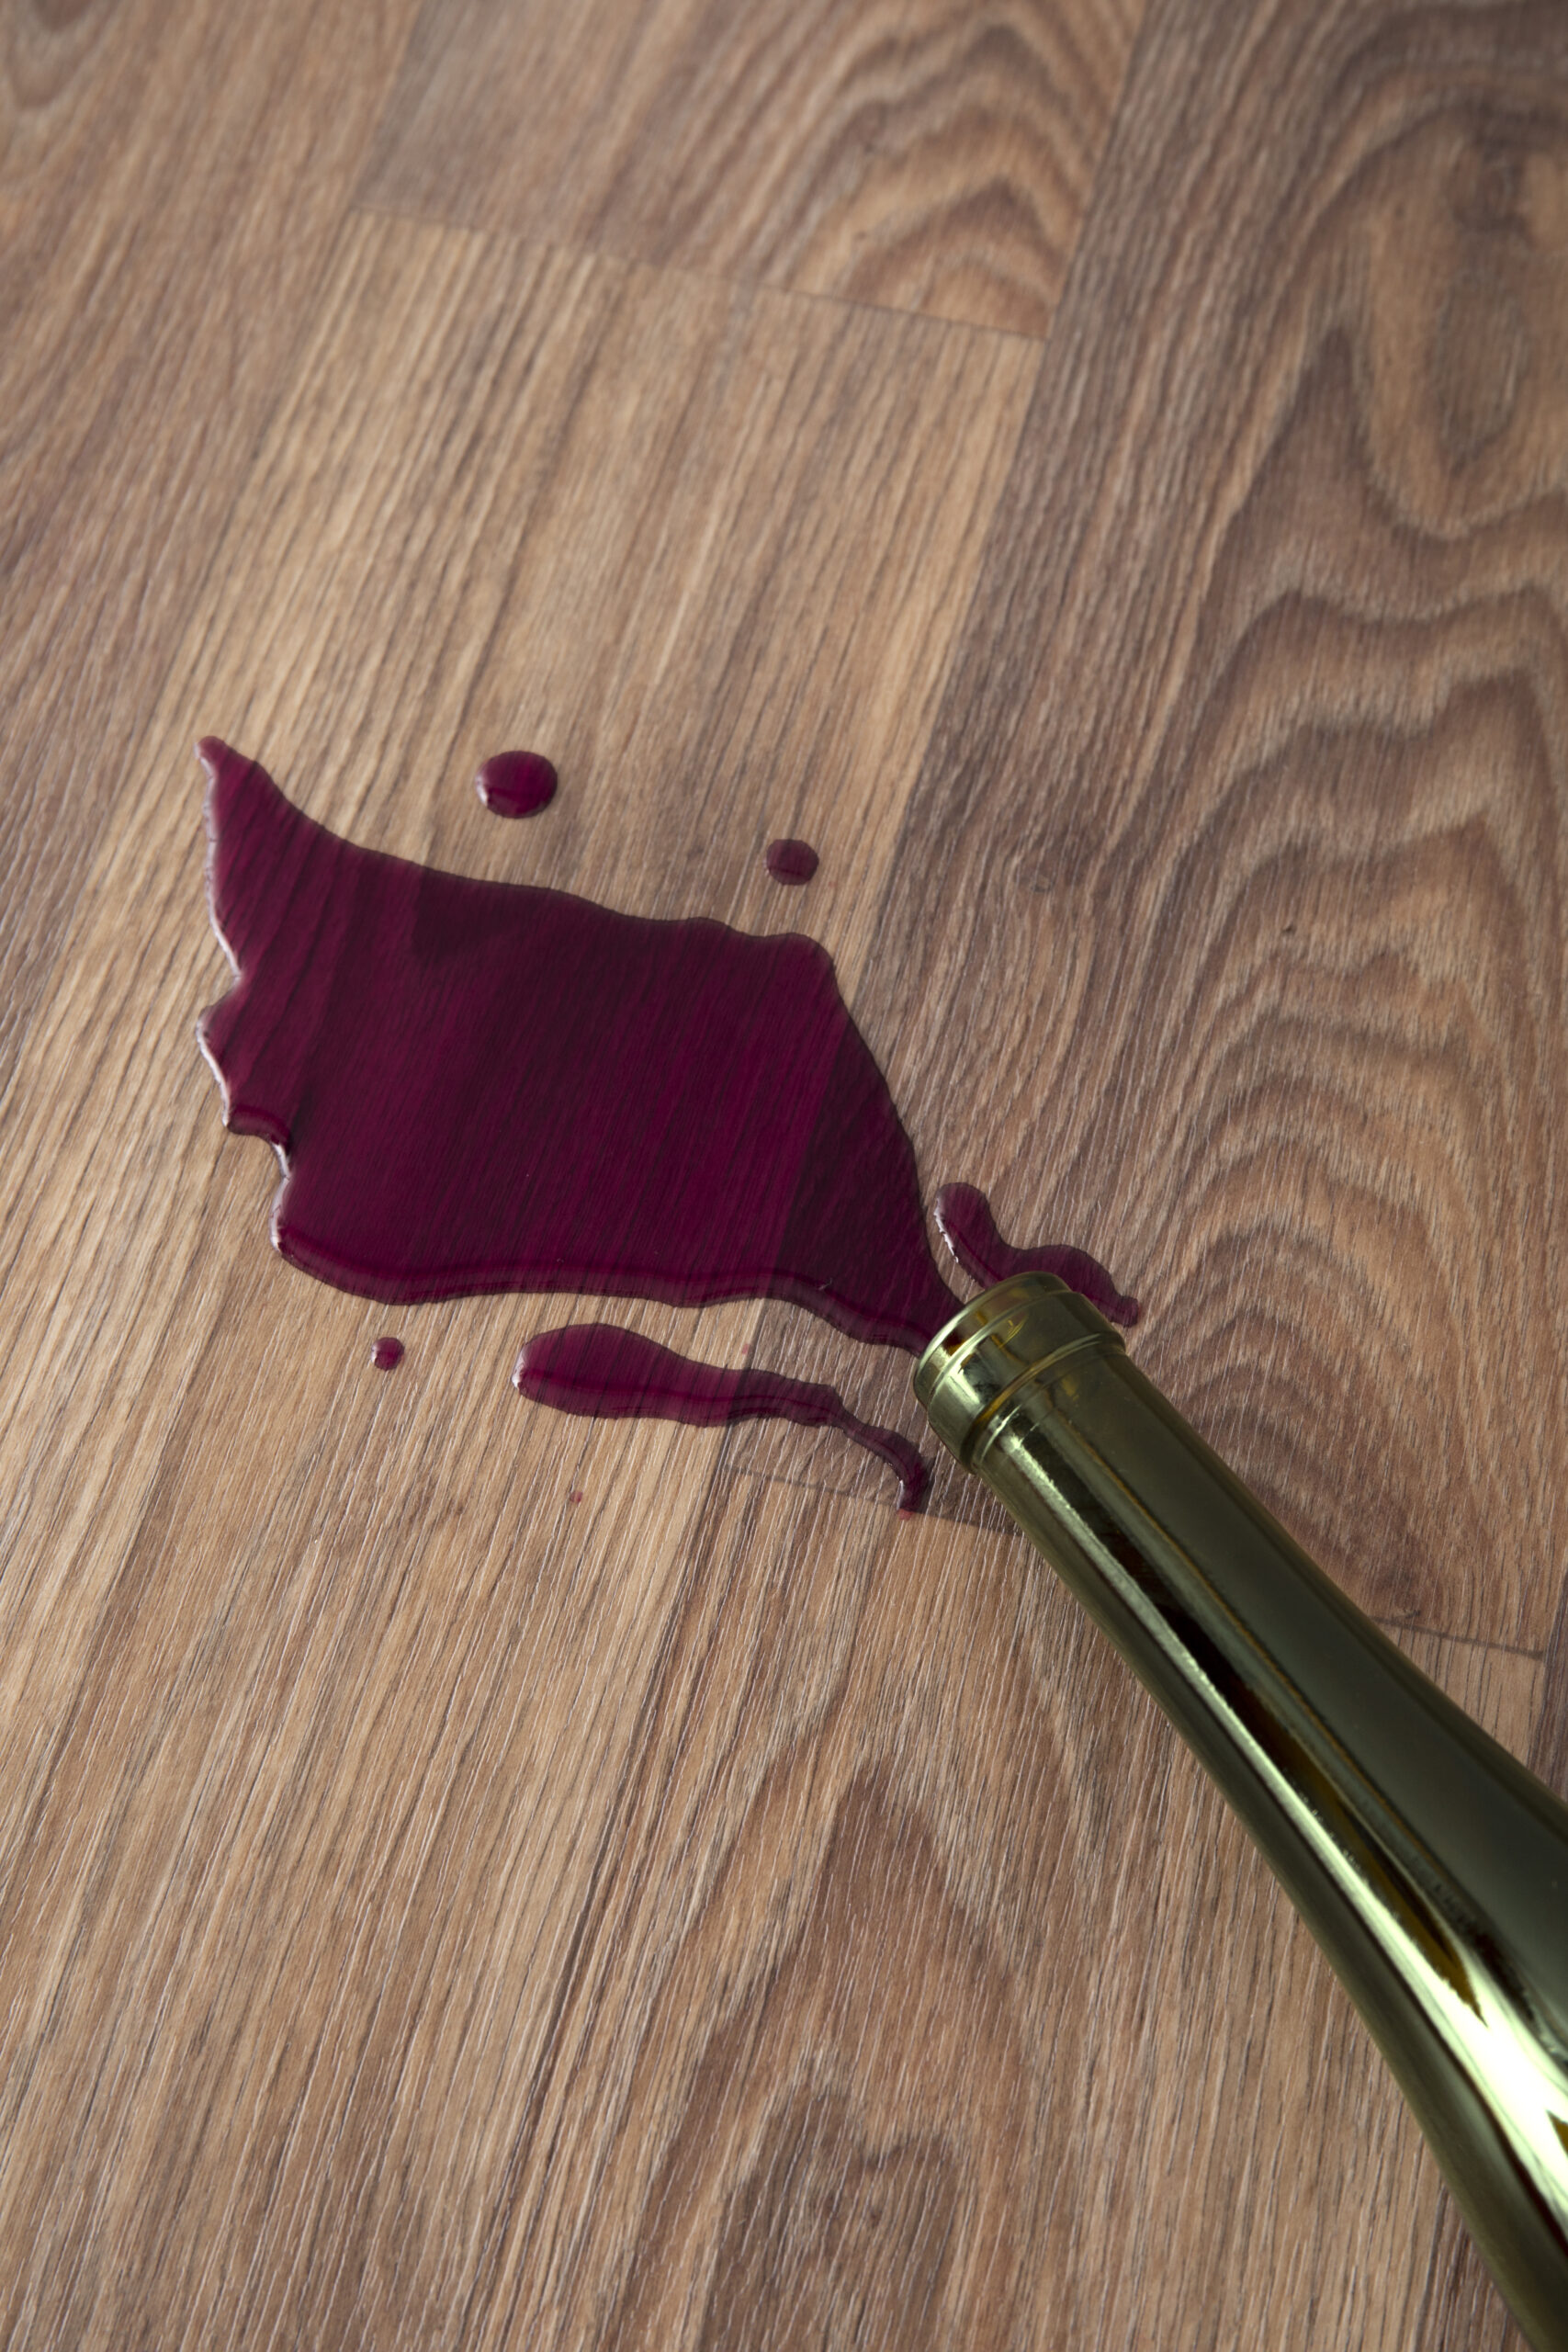
- Water Damage: Tiles in bathrooms, kitchens, and other areas exposed to moisture are prone to water damage. Water can seep under the tiles, causing them to loosen or crack. Repairing such damage is crucial to prevent further issues like mold and structural damage.
- Accidents: Accidents happen, and tiles can be damaged by heavy objects falling on them or by someone accidentally dropping something heavy. Repairing the damaged tiles ensures the safety and aesthetics of your space.
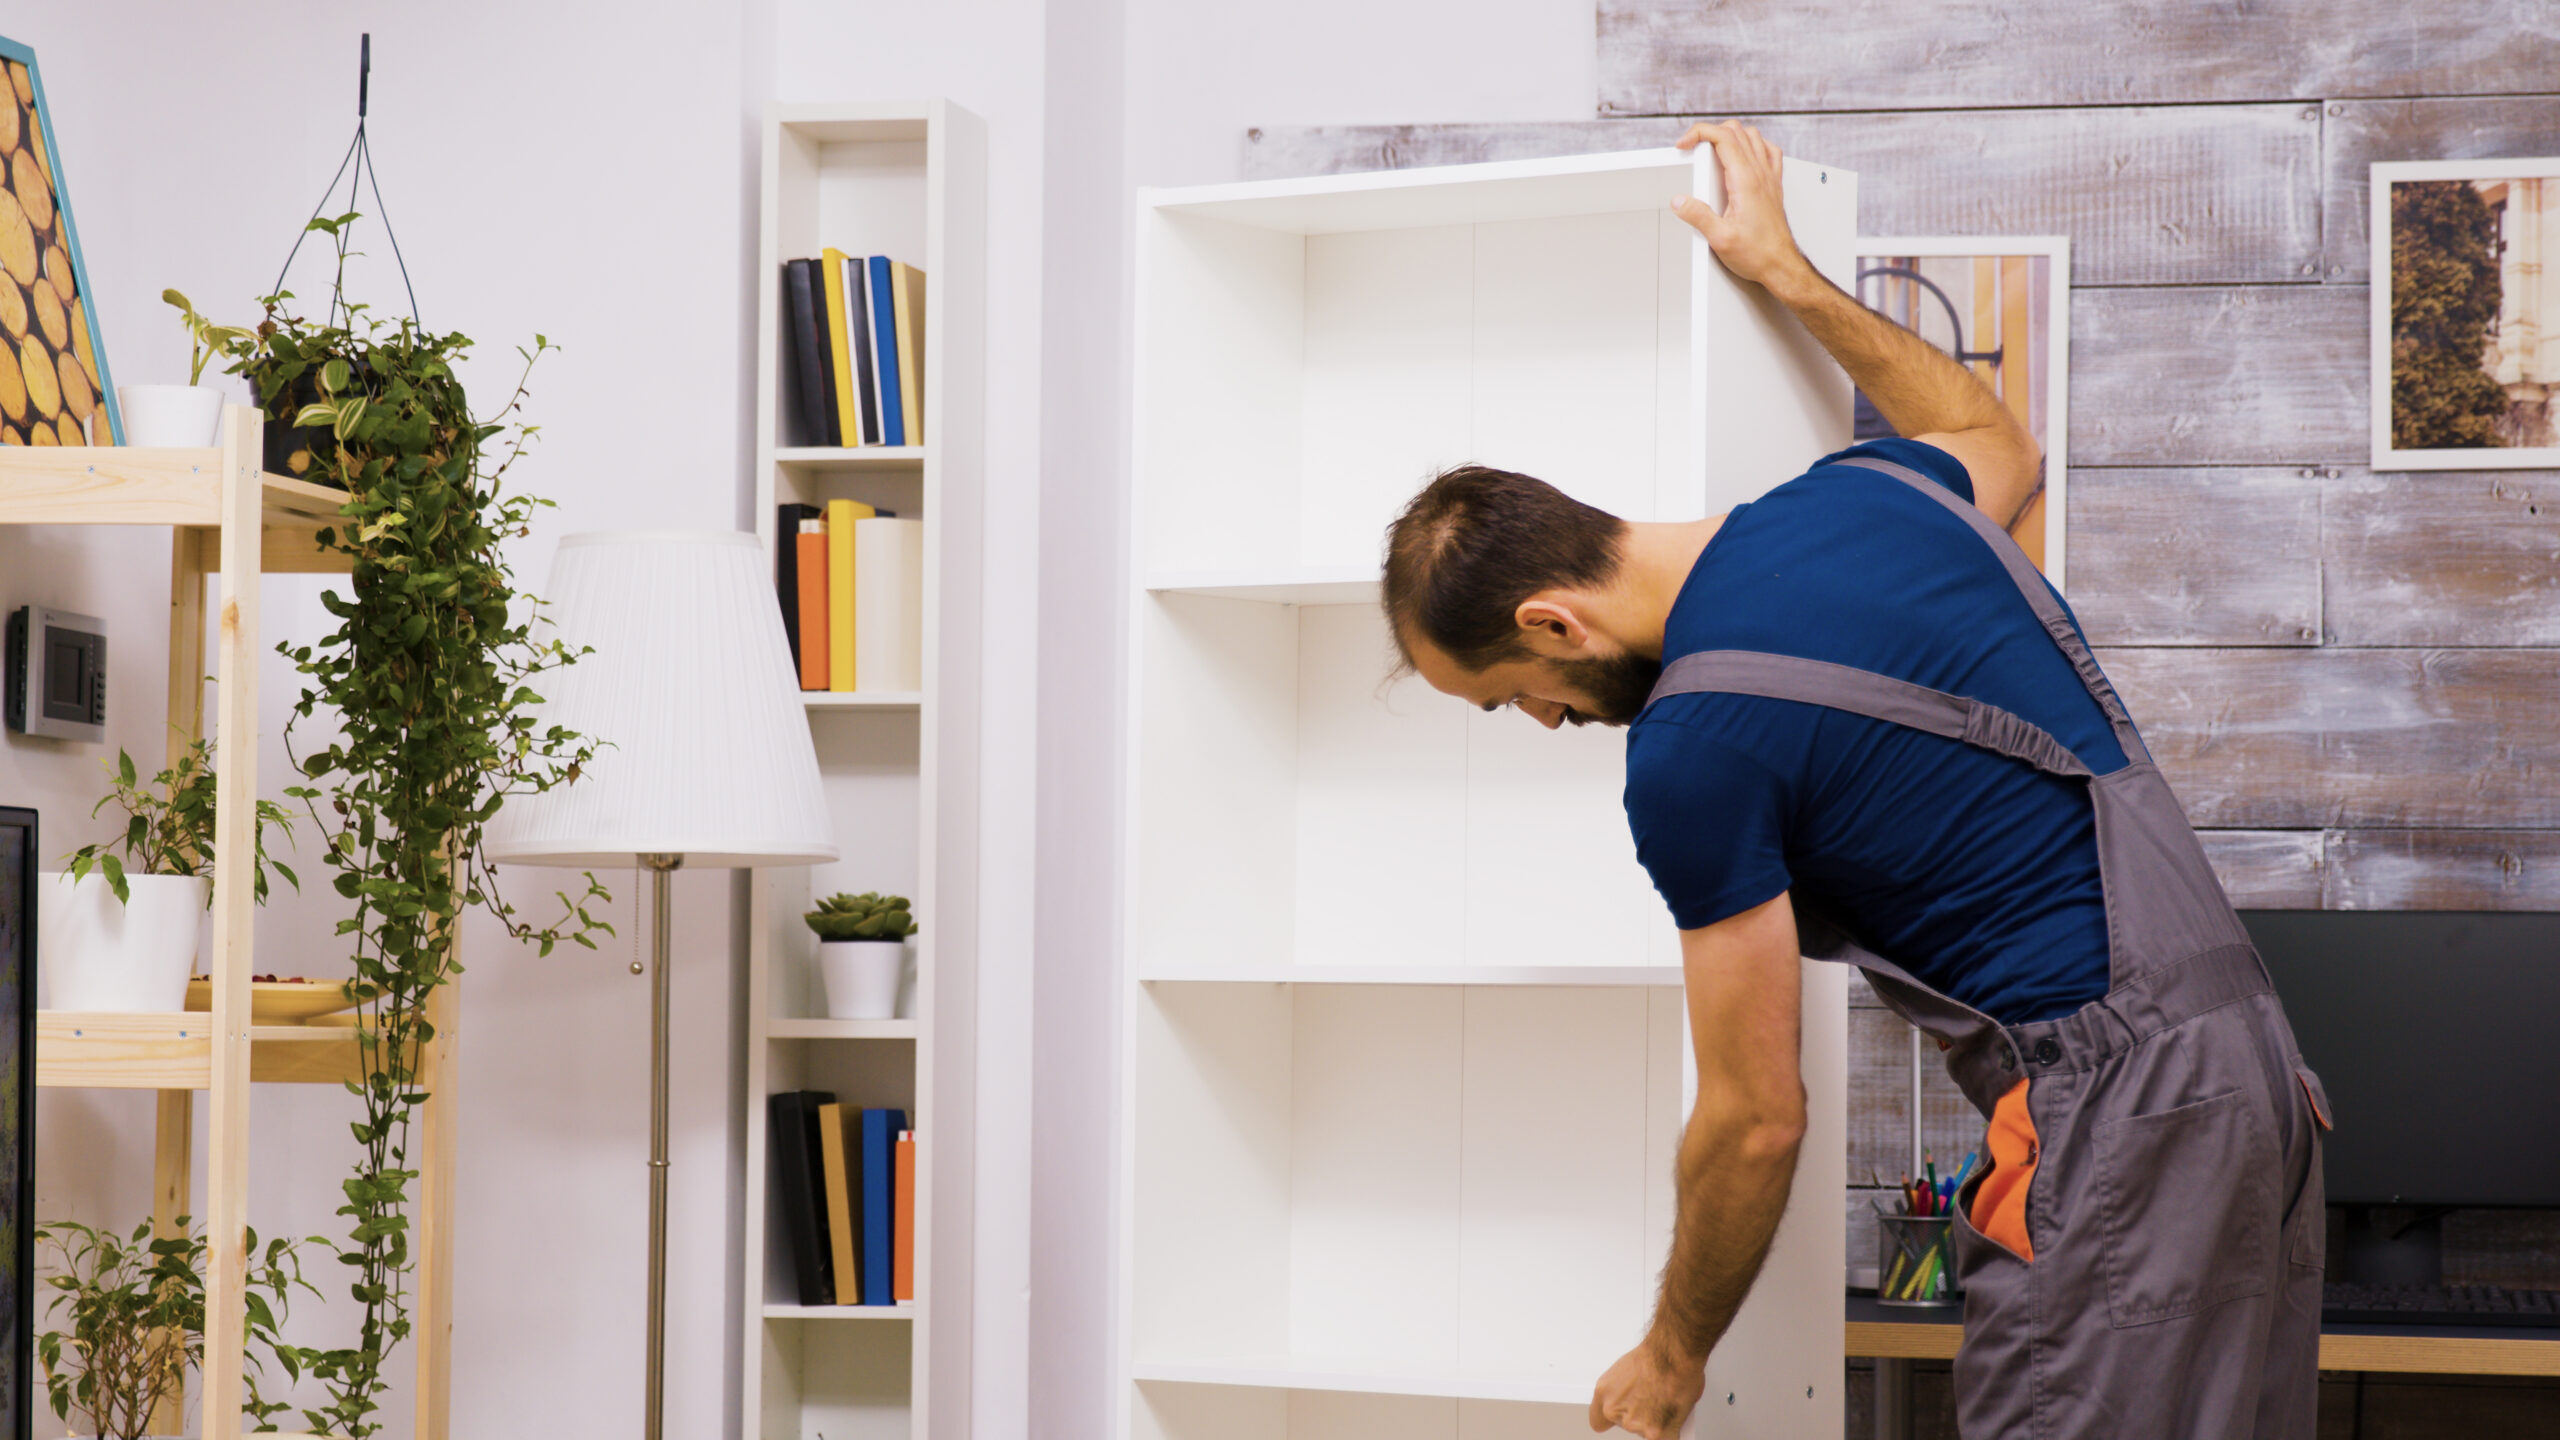
- Aesthetic Concerns: Often, people opt for tile repair or replacement to update the look of a room. New tiles can transform the appearance of a space without the need for a full renovation.
Types of Tile Repair
Tile repair can encompass a variety of issues, and the methods for addressing these problems differ. Here are the most common types of tile repair:
- Cracked Tile Repair: Cracks in tiles can be fixed using epoxy or tile filler. Clean the crack, apply the filler, and smooth it out. Once dry, the repaired tile should look as good as new.
- Chipped Tile Repair: For minor chips, use a tile repair kit with touch-up paint to match the tile’s color. Fill the chip and blend it in with the surrounding area.
- Loose Tile Repair: If a tile is loose or coming off the surface, you’ll need to remove it, clean the area, and re-adhere it with tile adhesive or mortar. Ensure proper alignment and grout the repaired tile.
- Grout Repair: Cracked or missing grout can make your tiles look shabby. Remove the old grout and reapply the new grout to restore the uniform look of your tiled surface.
- Tile Replacement: Sometimes, damage is too extensive to repair, and you need to replace the entire tile. This is a more involved process, as you’ll need to remove the damaged tile, clean the area, and install a new one.
DIY Guide to Tile Repair
While some tile repairs may require professional help, many minor issues can be addressed with DIY methods. Here’s a step-by-step guide for basic tile repair:
Tools and Materials:
- Replacement tiles (if needed)
- Tile adhesive or mortar
- Grout
- Grout float
- Tile spacers
- Tile saw (if cutting tiles)
- Chisel
- Rubber mallet
- Sponge
- Grout sealer
- Safety goggles
- Dust mask
Steps:
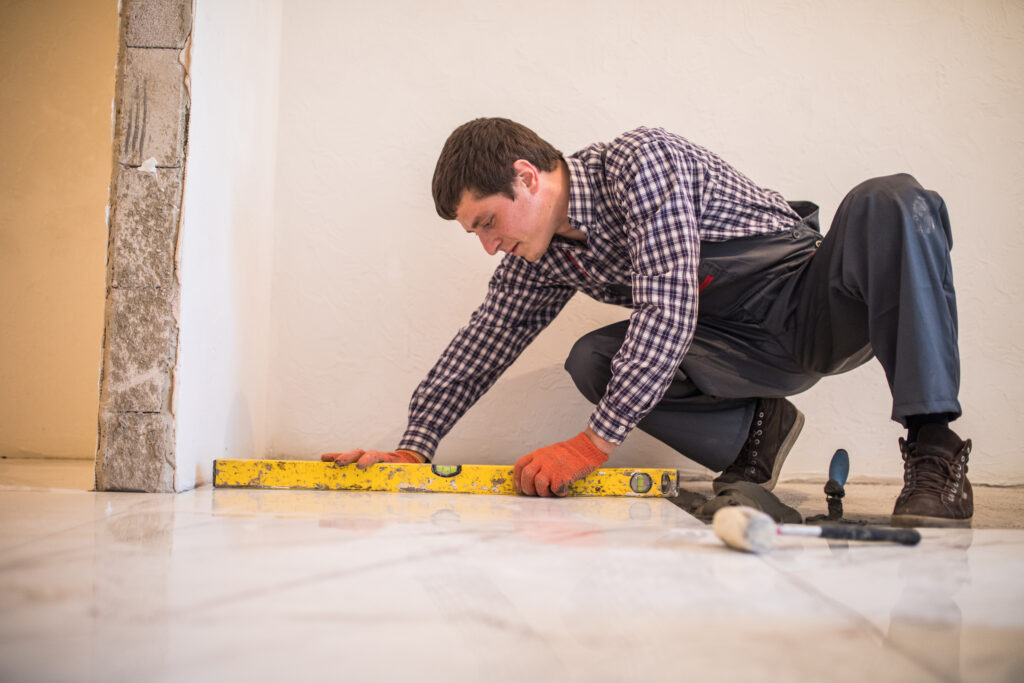
- Assess the Damage: Determine the type and extent of the damage. If a tile is cracked or chipped, you may be able to repair it. If it’s severely damaged, plan for a replacement.
- Gather Your Materials: Purchase replacement tiles, adhesive, grout, and any other necessary supplies. Ensure the replacement tile matches the existing ones in color and size.
- Safety First: Put on safety goggles and a dust mask before starting the repair.
- Remove the Damaged Tile: If you’re replacing a tile, use a chisel and rubber mallet to carefully break the damaged tile into smaller pieces. Remove any remaining adhesive or grout. Clean the area thoroughly.
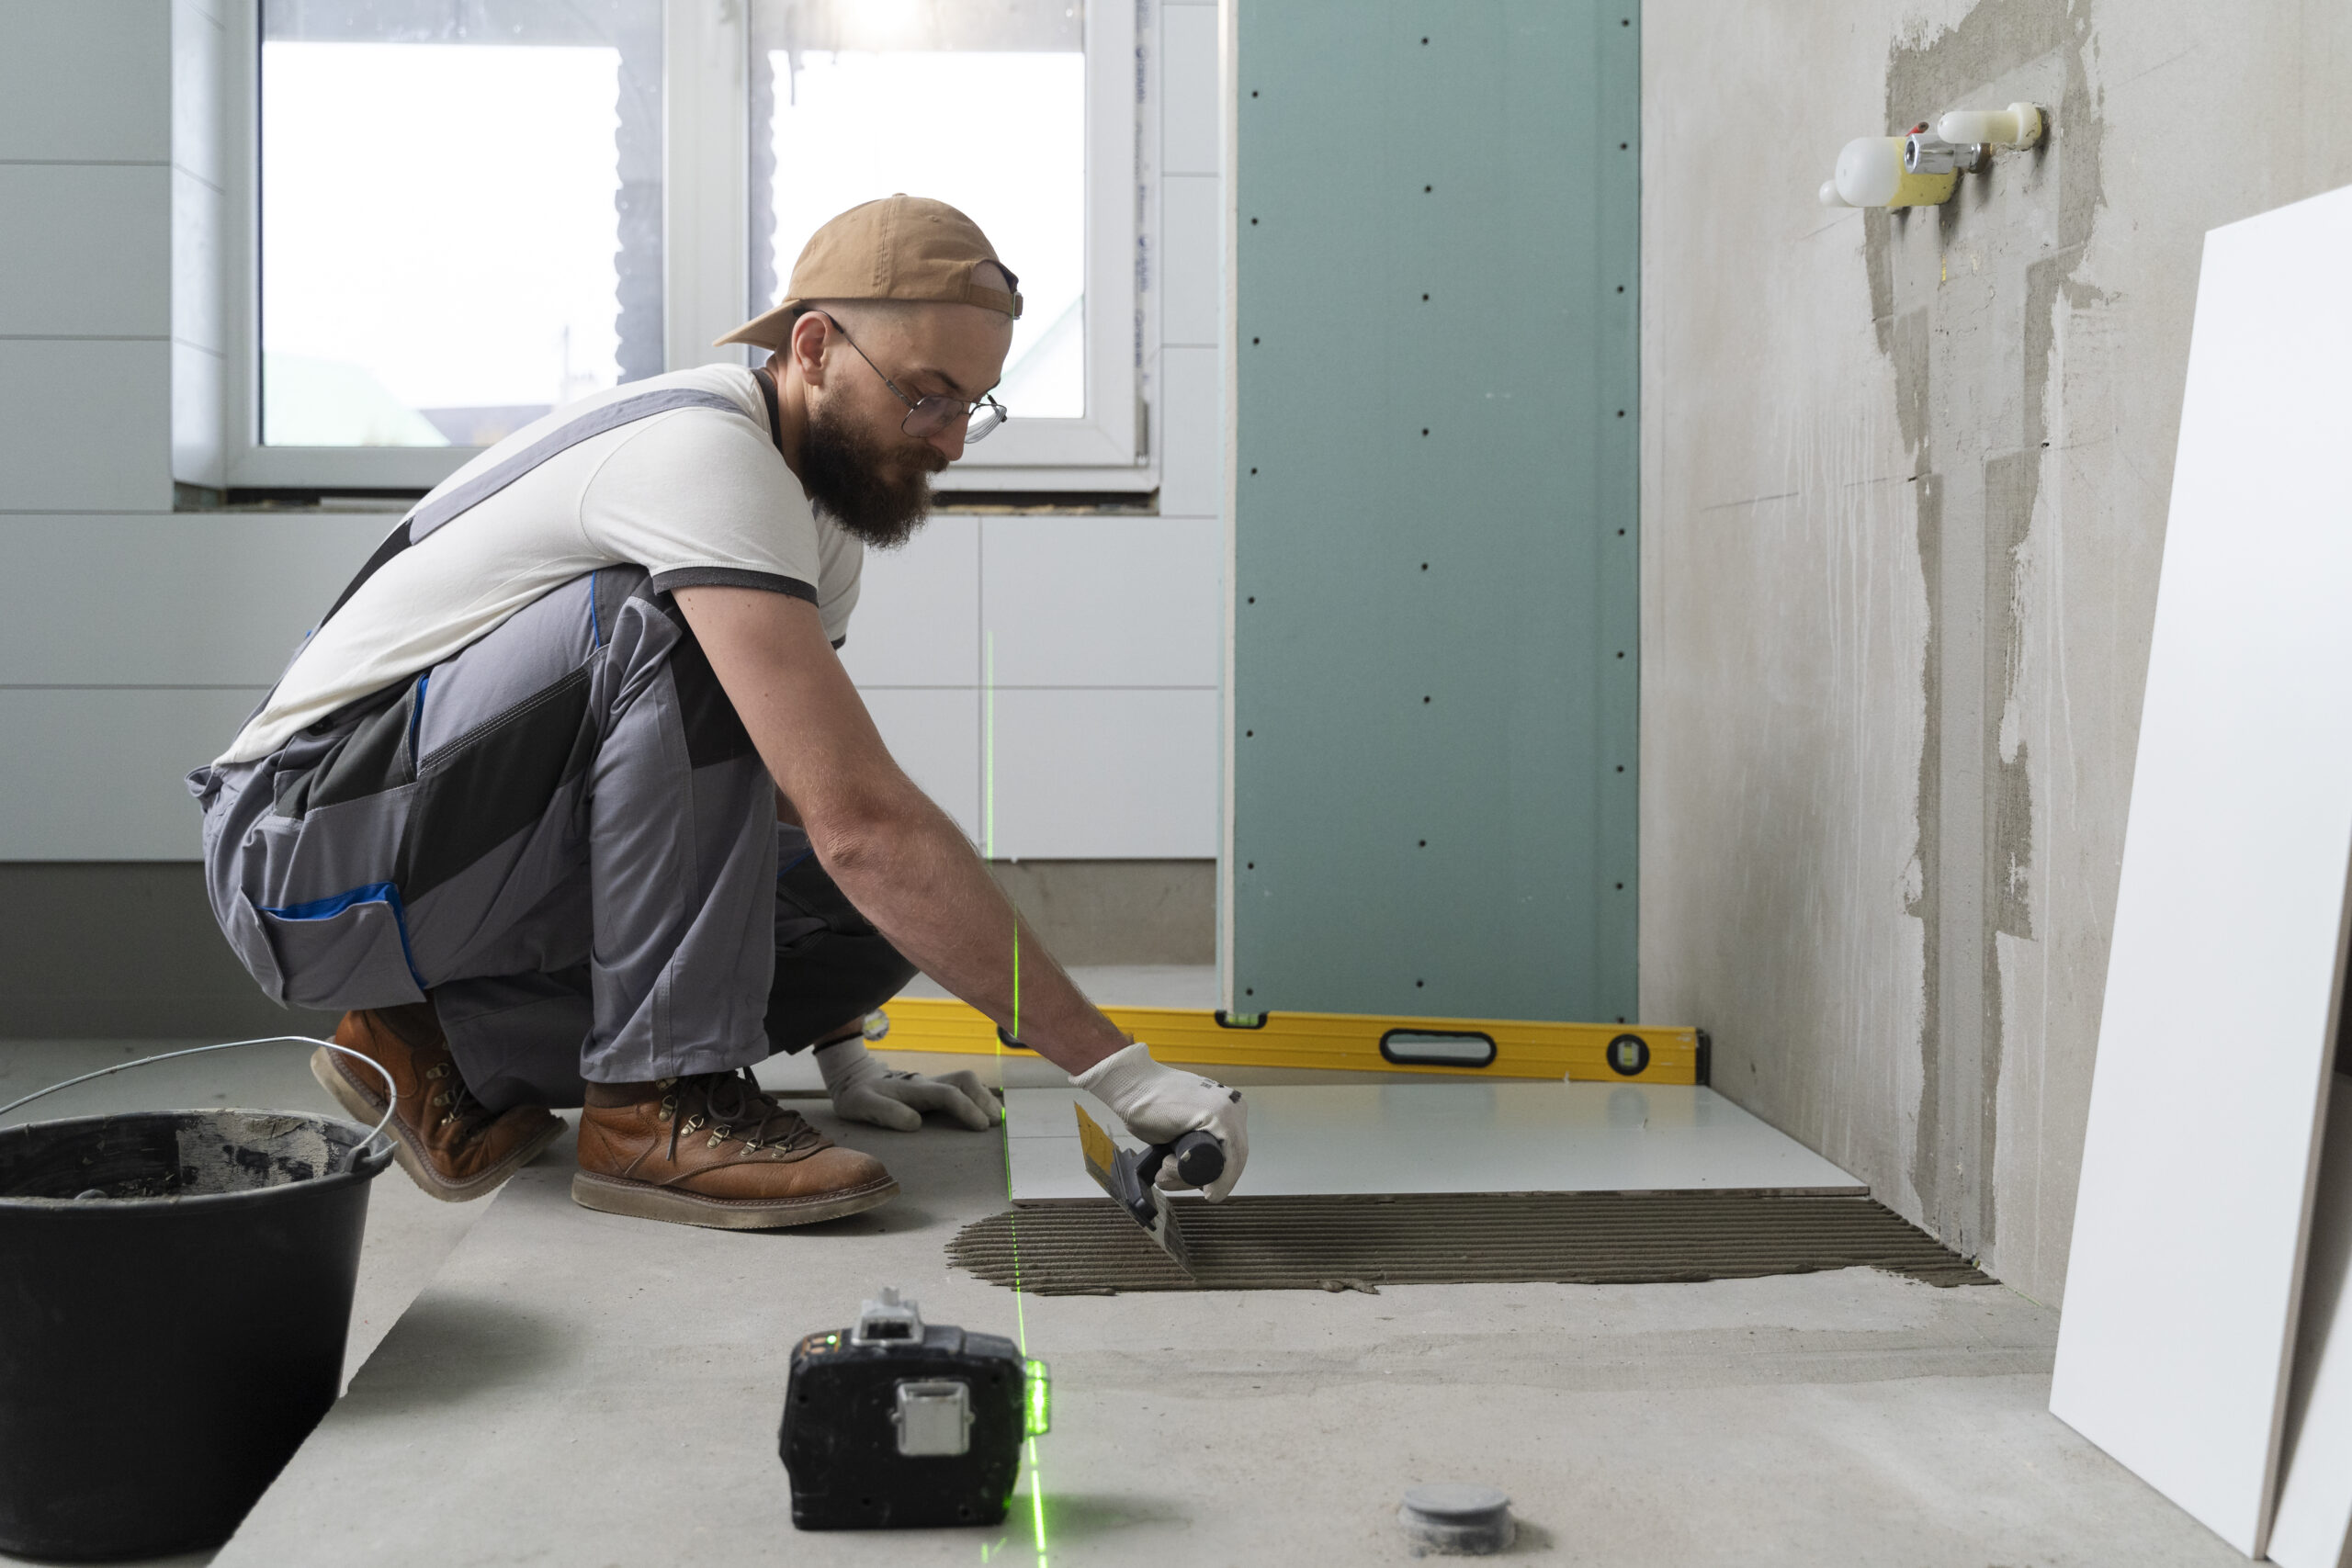
- Prepare the substrate: Apply tile adhesive or mortar to the back of the replacement tile and press it firmly into place. Use tile spacers to maintain proper spacing.
- Grout the Tile: Once the adhesive has dried and the tile is secure, apply grout using a grout float. Make sure the grout lines are uniform and fill any gaps.
- Clean and Seal: After the grout has dried but is still slightly moist, use a damp sponge to wipe away excess grout. Allow it to dry completely, and then apply a grout sealer to protect your work.
Conclusion
Tile repair and replacement are essential skills for homeowners, as tiles are a common feature in many living spaces. Understanding why tile repair is necessary, the types of repairs needed, and how to perform basic DIY tile repairs can save you time and money. With the right tools and materials, you can keep your tiles looking fresh and your home beautiful for years to come. So, don’t let damaged tiles spoil the beauty of your space—take action and repair or replace them as needed.
Need experts’ help? to contact us to get more information about our tile repair services. WhatsApp us at +65 8909 3798. Our team of tile-repairing experts will get back to you.